|
Advertisement Discount-Merchant.com
OEM DLP lamps, Plasma & LCD parts. Same day shipping, lowest prices on the internet.
|
Gateway 7005089 DLP Lamp How-To Replacement Guide
|
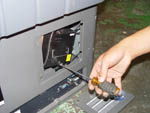
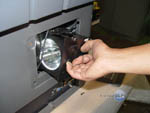
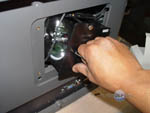
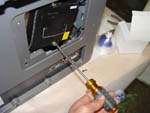
| Use the flathead again to unscrew the lamp enclosure from the housing. | Pull the enclosure out of the TV. | |||
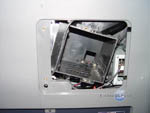
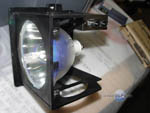
| You can see how the enclosure fits into the TV and connects to the ballast connector. | Examine the lamp enclosure, we'll tackle getting the lamp out next. | |||
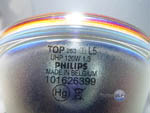
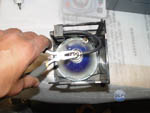
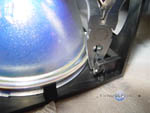
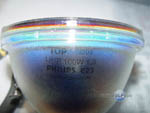
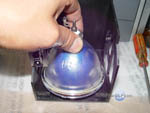
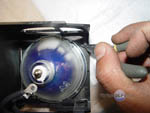
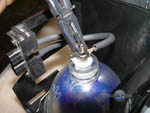
| The lamp is an OEM OSRAM 120W E23 with a 1.3 Arc. | Use your pliars to remove the nut from the top terminal on the lamp. | |||
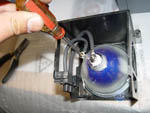
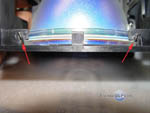
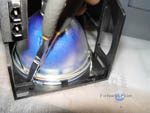
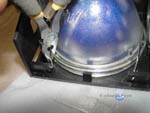
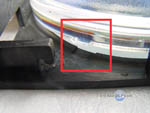
| Use a small Phillips screwdriver to unscrew the screw from the terminal on the side. | Here we can see the wire clamps holding the lamp in place. Use needle nose pliers to get to it. | |||
| Gently tug the wire down and around the plastic lip. | Do the same for the other side. | |||
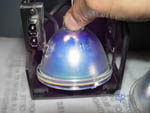
| Handle the lamp with caution! You can now pull the lamp out. | ||||
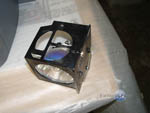
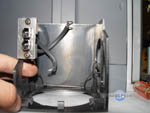
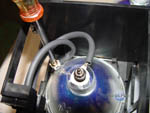
| This is the empty enclosure. Note the wires and the wire clamp. | Place the new lamp into the enclosure. | |||
| Make sure the wire clamps are over the lamp to prevent it from falling out. | Do this for both sides! | |||
| Note that the lamp will fit in a certain way. | Reattach the terminals. | |||
| HAND TIGHTEN the screw on the terminal. Excessive torque can break it. | The lamp is finally in the enclosure. | |||
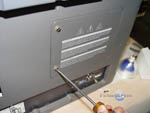
| Plop it back into the TV... | Screw it back in snug. | |||
| Close the cover and you're done! |
IMPORTANT: The bulb should be handled with a clean cloth at all times to avoid any dirt or oil. Our hands are naturally oily…this is a no-no for these lamps. It doesn’t hurt to do a final wipe with a clean, non-abrasive, lint-free cloth before reinstalling your lamp…
Again, Discount-Merchant.com promises to be the low price leader in all Projection TV Lamps they carry…if this is not true, let us know and we’ll fix it!
FixYourDLP.com Blog | FixYourDLP.com Forum | Guides
FixYourDLP Flickr | FixYourDLP YouTube
Copyright ©2014 FixYourDLP.com. All content on this website is intended for information purposes only. FixYourDLP.com is not responsible, nor liable for any damage caused by the end-user, faulty lamps or parts. Please, always have a service center or a trained service technician advise you before beginning any repairs on your own.


