|
Advertisement Discount-Merchant.com
OEM DLP lamps, Plasma & LCD parts. Same day shipping, lowest prices on the internet.
|
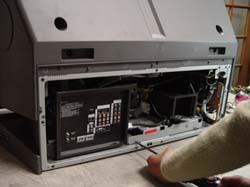
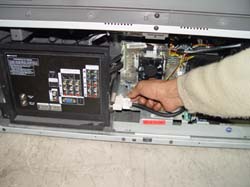
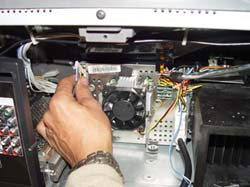
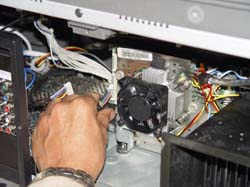
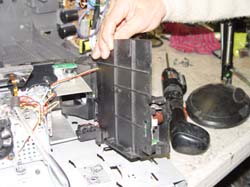
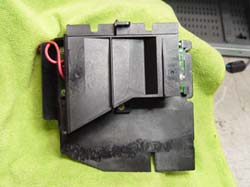
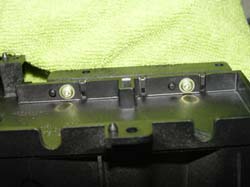
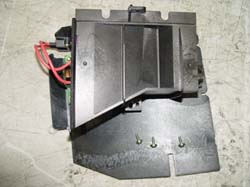
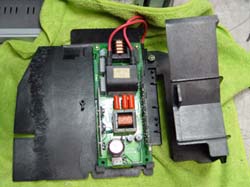
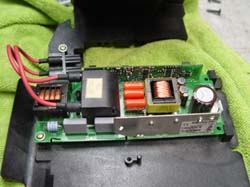
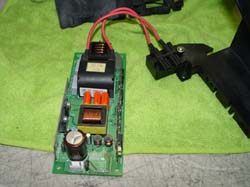
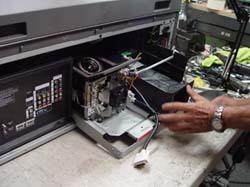
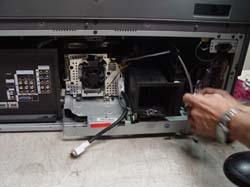
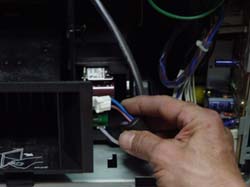
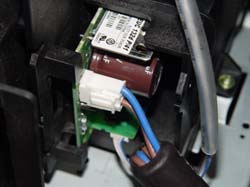
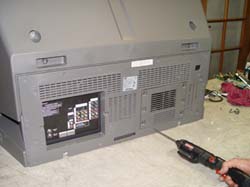
Samsung DLP Lamp BP47-00033A How-To Replacement GuideFor Lamp Codes: BP47-00022A / BP47-00033A / BP47-00037A / BP47-00036A (replacement ballast for DLP televisions)
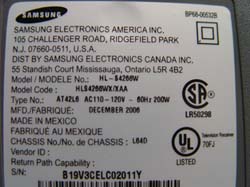
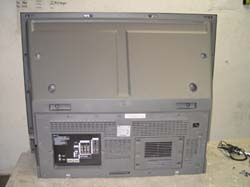
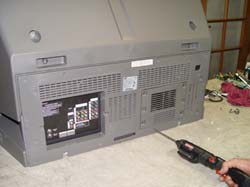
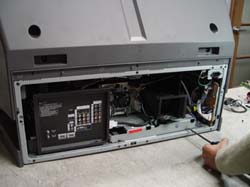
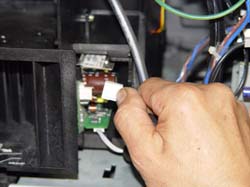
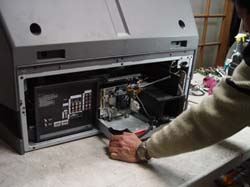
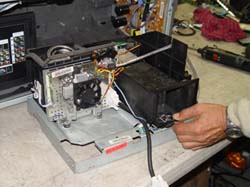
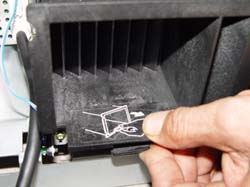
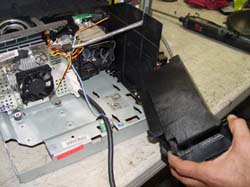
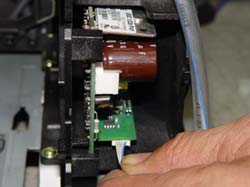
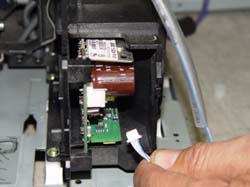
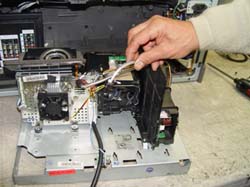
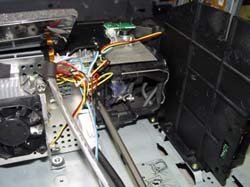
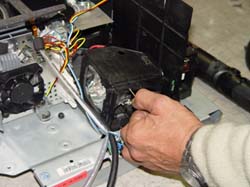
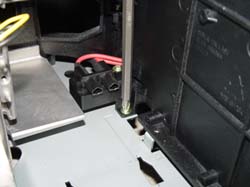
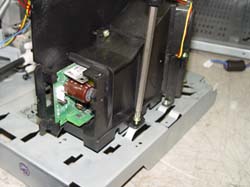
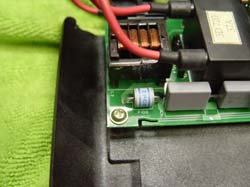
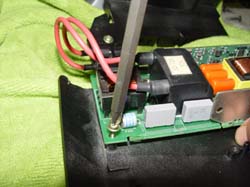
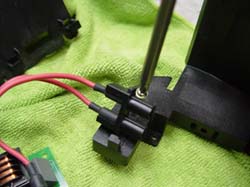
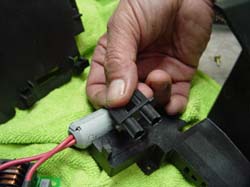
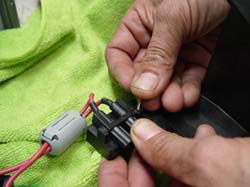
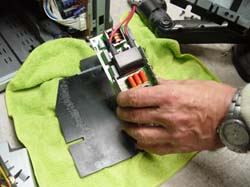
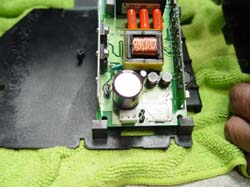
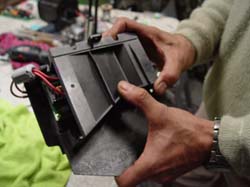
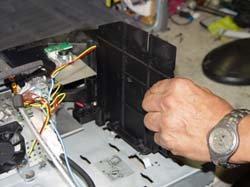
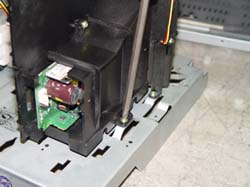
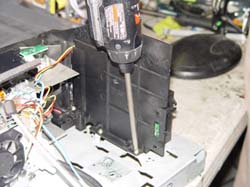
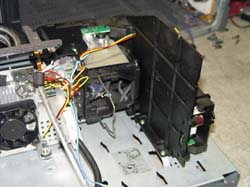
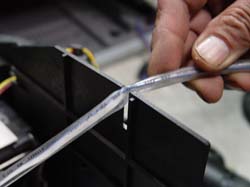
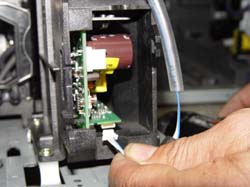
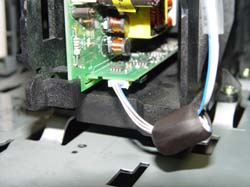
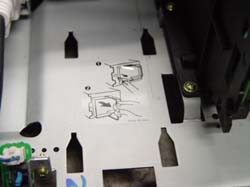
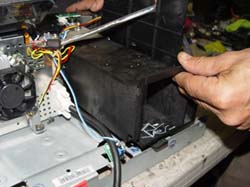
Tools Required: Standard Philips & Flathead screwdrivers, Pair of Pliers, A new ballast Time Required: About 30 minutes Abstract: This guide is being published to show how easy it is to replace your original Samsung Ballast for Television models HLT4675S, HLT5075S, HLT5675S, HLT6756W, HLR5067W, HLR5656W, HLR6767W, HLT5076S, HLT5676S, HLT6176S. Click below to buy this ballast part now: What else can cause a "Lamp" light to go on even though I've replaced my lamp with a new one? 1. Defective Lamp What are the main symptoms of a bad ballast? 1. The TV gives a "Lamp Replacement" code when powering on the TV even when the lamp has been replaced. What you'll need : 1. Standard Philips & Flathead screwdrivers IMPORTANT: Lamps and bulbs should be handled with a clean cloth at all times to avoid any dirt or oil. Our hands are naturally oily…this is a no-no for these lamps. It doesn’t hurt to do a final wipe with a clean, non-abrasive, lint-free cloth before reinstalling your lamp. Discharge yourself from any electro-static charge before working on your ballast.
Again, Discount-Merchant.com promises to be the low price leader in all Projection TV Lamps and TV Parts we carry…if this is not true, let us know and we’ll fix it! Click below to buy this ballast part now:
|
FixYourDLP.com Blog | FixYourDLP.com Forum | Guides
FixYourDLP Flickr | FixYourDLP YouTube
Copyright ©2014 FixYourDLP.com. All content on this website is intended for information purposes only. FixYourDLP.com is not responsible, nor liable for any damage caused by the end-user, faulty lamps or parts. Please, always have a service center or a trained service technician advise you before beginning any repairs on your own.


