 LP Lamp and Part Replacement Guides At FixYourDLP.com
|
Advertisement Discount-Merchant.com
OEM DLP lamps, Plasma & LCD parts. Same day shipping, lowest prices on the internet.
|
JVC D-ILA DLP Lamp TS-CL110UAA TS-CL110U How-To Replacement GuideFor Part Number: JVC D-ILA DLP Lamp TS-CL110UAA TS-CL110U (Sealed replacement lamp for DLP televisions, small lamp with no vents)
Tools Required: Flathead screwdrivers, Torx T-6 or comparable driver, A new lamp and assembly. Time Required: About 15 minutes Abstract: This guide is being published to show how easy it is to replace your original JVC Lamp. Click below to buy this lamp now: NORMAL DISCLAIMER:
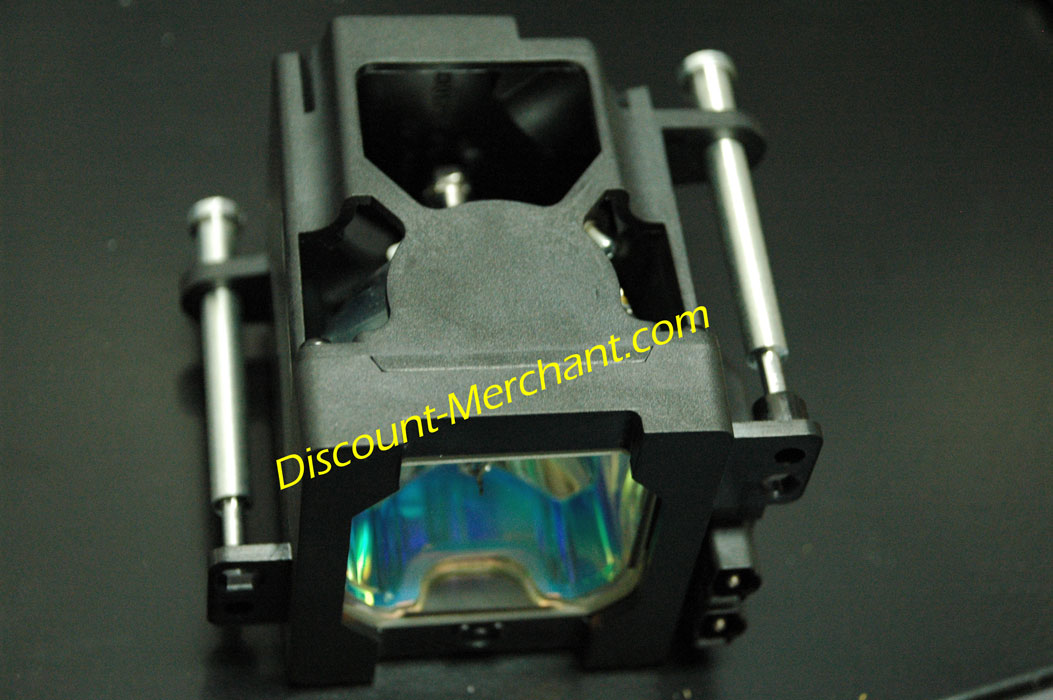
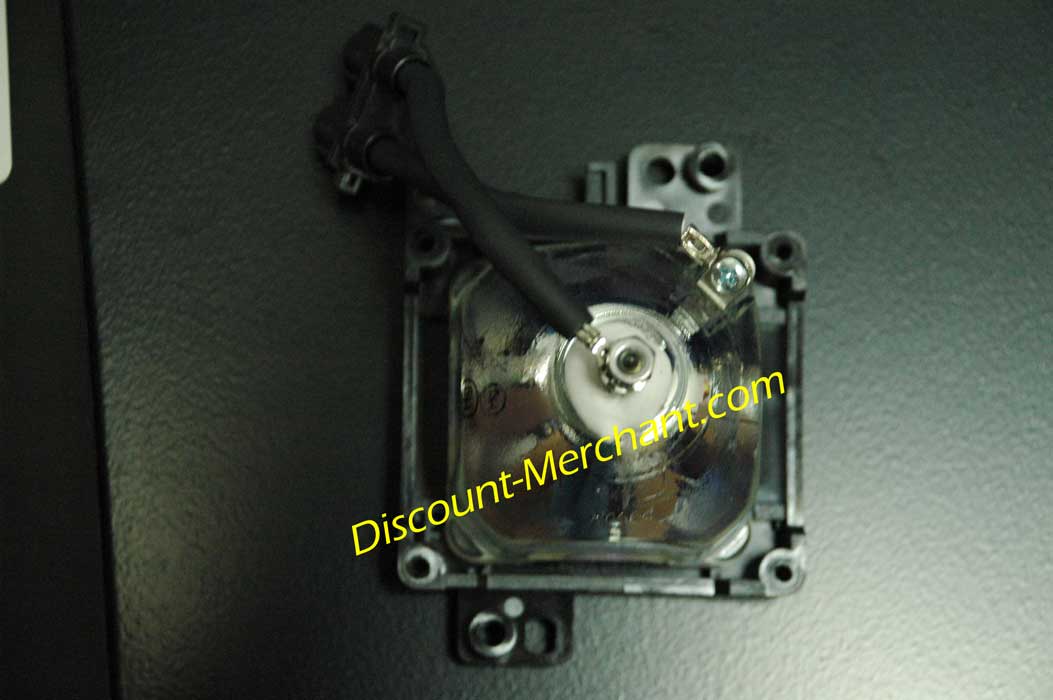
Replacing your JVC D-ILA Lamp is very simple. Only tools required: Flathead screwdriver (remove your lamp enclosure) That’s it! (Click on pics for high resolution photos) Once you have the enclosure out, it should look similar to this:
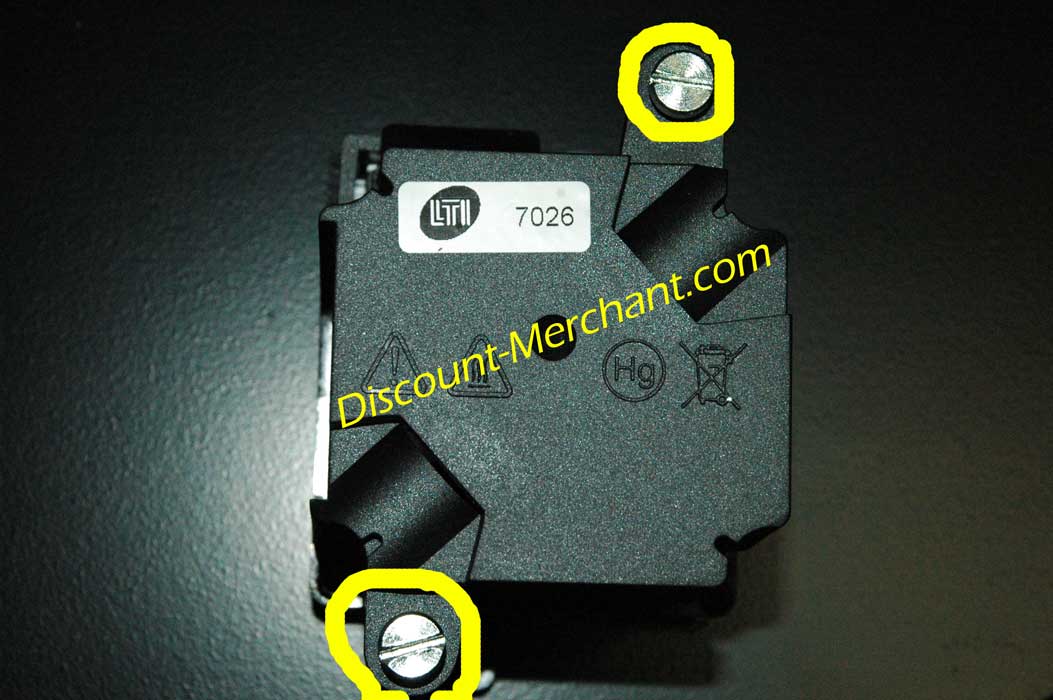
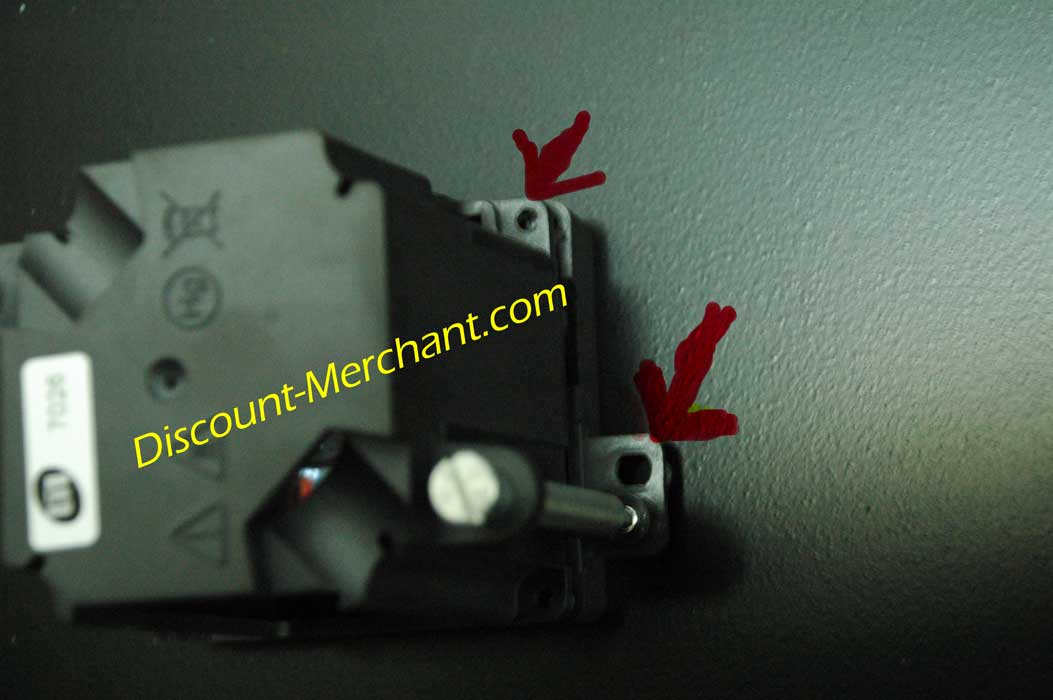
Ok, first step is to unscrew these two screws circled in yellow:
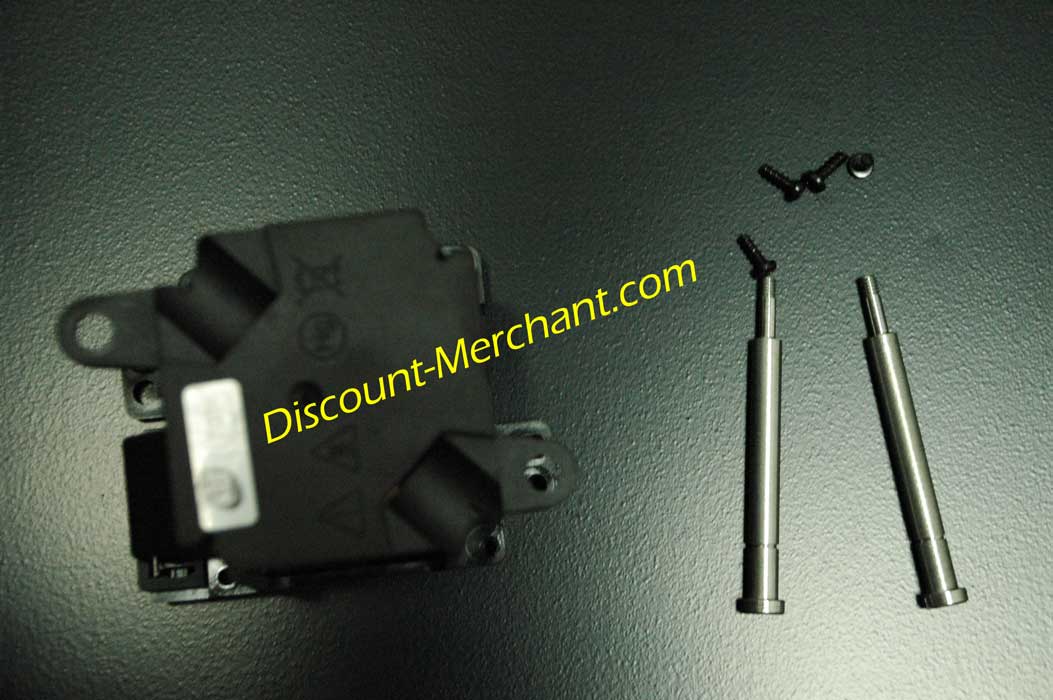
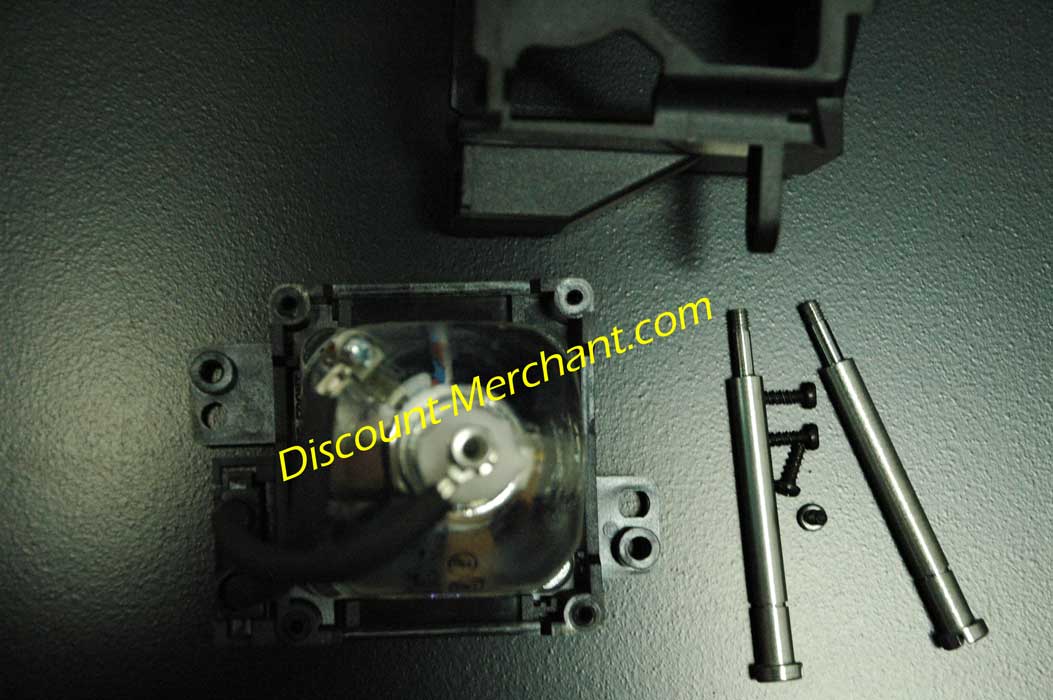
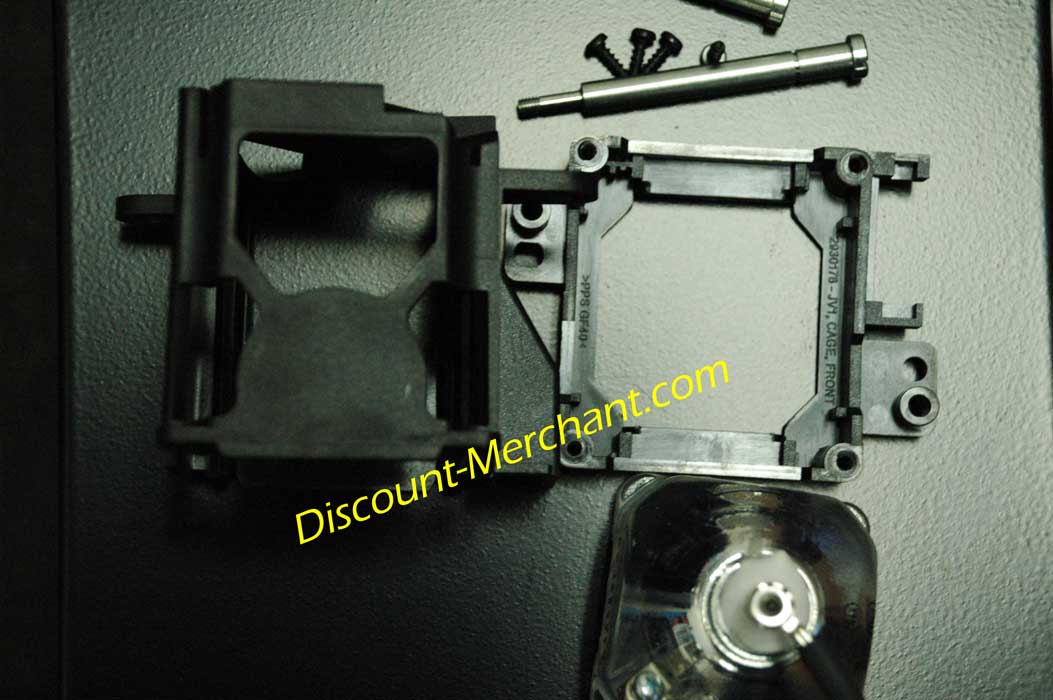
Once those two are out of the way, unscrew the four small torx (two on either side). Then you’re left with:
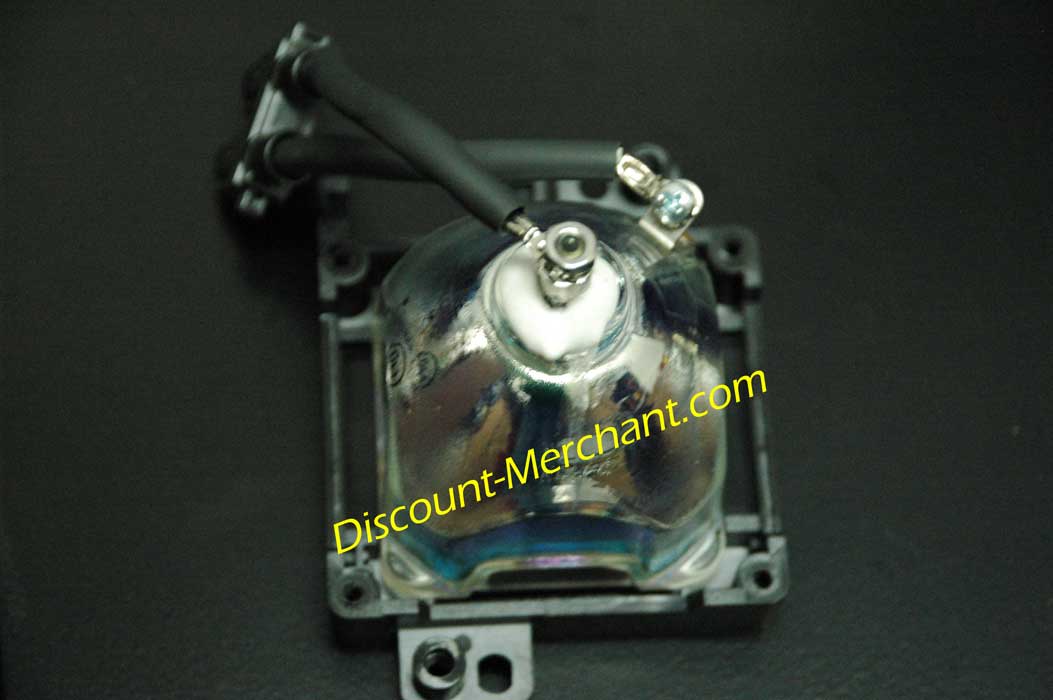
Here are acouple more pictures:
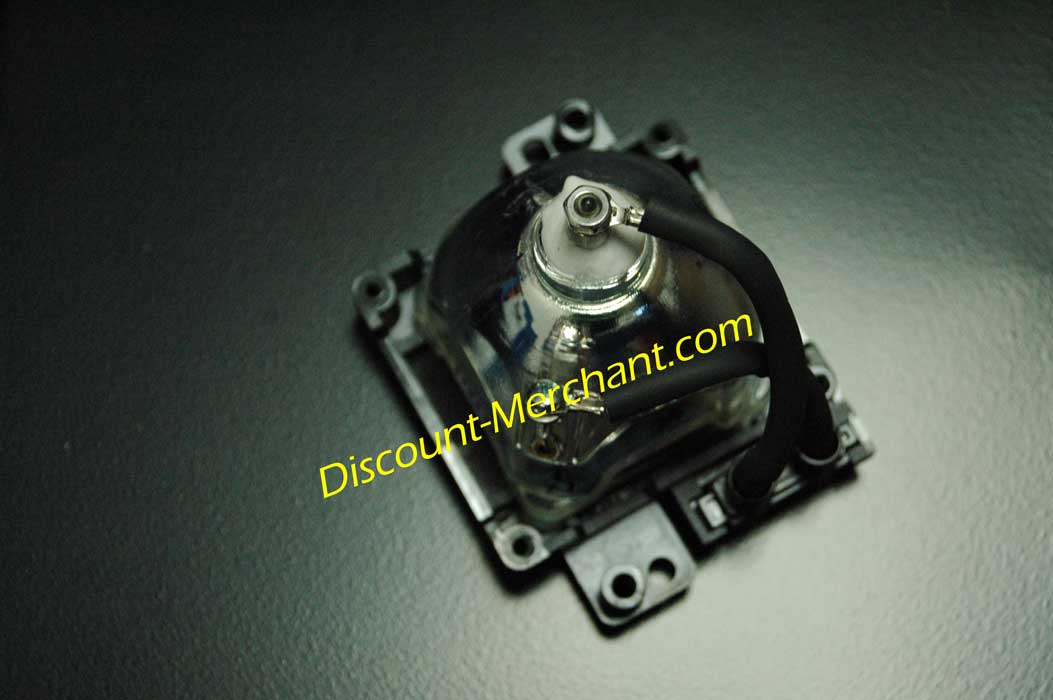
Now that you have all the screws off, simply separate the two plastic pieces and pull out the old lamp
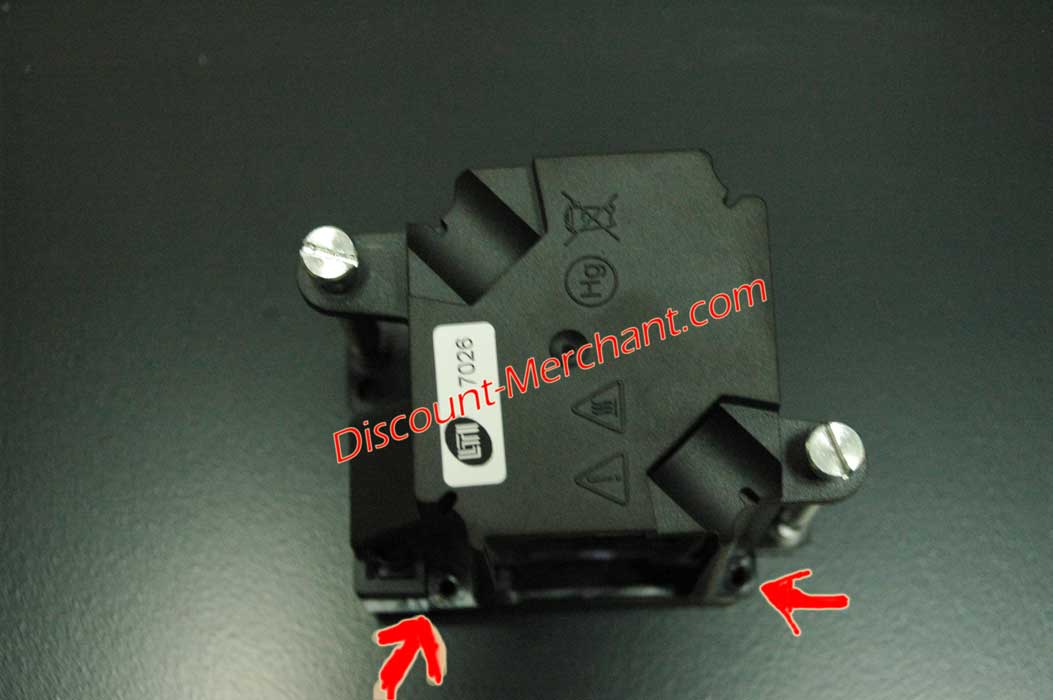
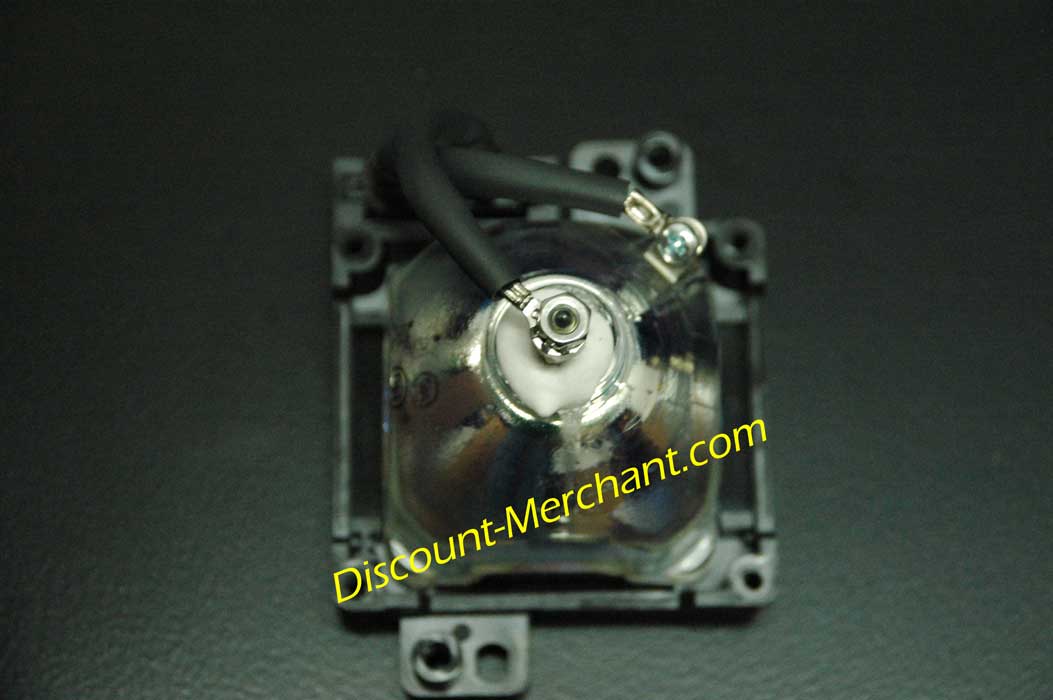
Now it’s just a matter of replacing the old lamp for the new…reassemble in reverse order and enjoy! IMPORTANT: The bulb should be handled with a clean cloth to avoid any dirt or oil. Our hands are naturally oily…this is a no-no for these lamps. It doesn’t hurt to do a final wipe with a clean, non-abrasive, lint-free cloth before reinstalling your lamp. If you’ve paid close attention to the pictures, you can see that this guide was created using a LTI (generic) lamp and enclosure. No worries, are lamps are all original. How can you tell me you’ve got an original lamp? Here are a few more pics for reference:
Click below to buy this lamp now:
|

FixYourDLP.com Blog | FixYourDLP.com Forum | Guides
FixYourDLP Flickr | FixYourDLP YouTube
Copyright ©2014 FixYourDLP.com. All content on this website is intended for information purposes only. FixYourDLP.com is not responsible, nor liable for any damage caused by the end-user, faulty lamps or parts. Please, always have a service center or a trained service technician advise you before beginning any repairs on your own.