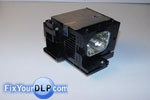
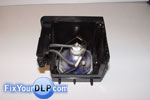
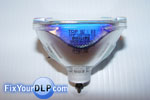
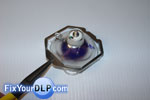
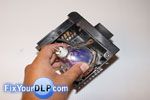
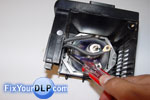
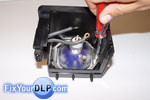
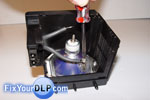
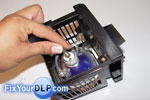
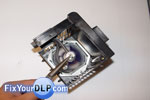
Hitachi DLP Lamp UX25951 How-To Replacement Guide

[Español]

For Part Number: UX25951, UX-25951 (Sealed replacement lamp for DLP televisions, small lamp with no vents)

For Enclosure: Hitachi Lamp (enclosures UX25951 / LP600)

Lamp Type: LCD.

For Bulb: UHP 100w / 120w 1.0

Philips P22 100W/120W 1.0

Click below to buy this lamp now:
buy now
Lowest Prices Anywhere!

Compatible TV Models: 50VS69A, 55VS69A, 62VS69, 65F59J, 55VS69, 60VS69, 62VS69A

Assembly part numbers: NA80651, NJ2279.

NORMAL DISCLAIMER:
— Do NOT purchase generic brand lamps such as LTI, APO or third-party manufacturers such as OSRAM.

These lamps were NOT engineered with and for your TV…only your Philips lamp has been engineered to work flawlessly and output the best possible color. Above that, it just doesn’t make sense to choose an aftermarket lamp for a $5-$10 difference (and in many cases they are more expensive!!). Be a smart consumer and do your research! Discount-Merchant.com promises to be the low price leader in all Projection TV Lamps they carry…if this is not true, let us know and we’ll fix it!

Tools Required: Standard Philips or Flathead screwdrivers, Pair of Pliers, A new lamp.

Time Required: About 15 minutes

Abstract: This guide is being published to show how easy it is to replace your original Hitachi Lamp UX25951.

NOTE: We recommend you to use latex gloves when handling the new bulb, to avoid any dirt or oil. Our hands are naturally oily…The oil residue from our hands can cause premature failure of the lamp if the front side of the lamp is not wiped down after the installation. It doesn’t hurt to do a final wipe with a clean, non-abrasive, lint-free cloth before reinstalling your lamp…


Hitachi LP600

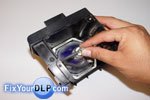
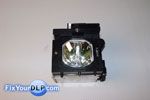
1.-Hitachi DLP Lamp UX25951

 
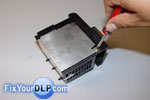
Metal case part No. NA81651

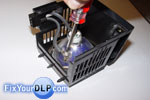
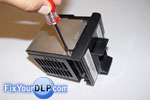
2.-Begin to remove the screw holding the metal case with the plastic one.

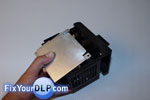
Metal case part No. NA81651

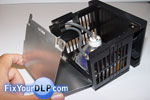
3.-Take out the metal cage by tugging it gently and lift.

 
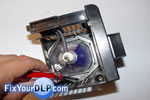
Metal ring part No. KL02022

4.-First you will need to take the screws out that are securing the metal ring around the bulb.

Metal ring part No. KL02022

5.-The metal ring will be loose by now.

 
Original lamp part No. P22 100W/120W 1.0 Philips & Twin plastic coverd cables

6.-Next will remove the cables attached to the lamp, starting with the one on the side.

Original lamp part No. P22 100W/120W 1.0 Philips & Twin plastic coverd cables

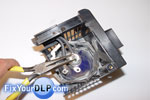
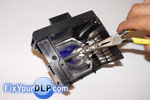
7.-Now, take your pliers and carefully turn the nut on the top terminal to remove it.

 
Original lamp part No. P22 100W/120W 1.0 Philips & Twin plastic coverd cables

8.-The two plastic covered cables are now loose and separated from the bulb.

Original lamp part No. P22 100W/120W 1.0 Philips

9.-Your new Philips brand lamp should look something like this.

 
Metal ring part No. KL02022,Original lamp part No. P22 100W/120W 1.0 Philips

10.-Take the metal ring and place it back on

Metal ring part No. KL02022,Original lamp part No. P22 100W/120W 1.0 Philips

11.-Next place the bulb back from the front in to it's place.

 
Metal ring part No. KL02022,Original lamp part No. P22 100W/120W 1.0 Philips

12.-Also check that on the other side the metal ring is locked in to the plastic casing.

Metal ring part No. KL02022,Original lamp part No. P22 100W/120W 1.0 Philips

13.-Place the screws back on the metal ring, on the side.

 
Original lamp part No. P22 100W/120W 1.0 Philips & Twin plastic coverd cables

14.-Reinstall cautiously the screw that connects the short cable to the lamp.

Original lamp part No. P22 100W/120W 1.0 Philips & Twin plastic coverd cables

15.-And insert the second plastic covered cable on its place.

 
Original lamp part No. P22 100W/120W 1.0 Philips & Twin plastic coverd cables

16.-After placing the second cable don’t forget to put the small metal ring in.

Original lamp part No. P22 100W/120W 1.0 Philips & Twin plastic coverd cables

17.-Use your hand to manually start turning the nut until its half way in.

 
Original lamp part No. P22 100W/120W 1.0 Philips & Twin plastic coverd cables

18.-Once its half way down use the pliers to secure it well, but don’t over do it.

Metal case part No. NA81651

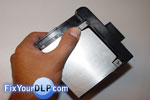
19.-Insert back the metal casing it its place.

 
Metal case part No. NA81651

20.-Once it’s done correctly is shouldn’t move.

Metal case part No. NA81651

21.-Place the screw back on the metal cage to finally secure it.

 
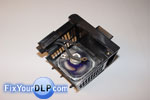
Hitachi LP600

22.-In 15 minutes you'r finish, and it should look like this.


IMPORTANT: After installing the replacement bulb, you should wipe it with a clean cloth to avoid any dirt or oil. Our hands are naturally oily…this could reduce considerably the life span of the new lamp.

Again, Discount-Merchant.com promises to be the low price leader in all Projection TV Lamps they carry…if this is not true, let us know and we’ll fix it!

Click below to buy this lamp now:
buynow
Lowest Prices Anywhere!


FixYourDLP.com Blog | FixYourDLP.com Forum | Guides
FixYourDLP Flickr | FixYourDLP YouTube

Copyright ©2014 FixYourDLP.com. All content on this website is intended for information purposes only. FixYourDLP.com is not responsible, nor liable for any damage caused by the end-user, faulty lamps or parts. Please, always have a service center or a trained service technician advise you before beginning any repairs on your own.